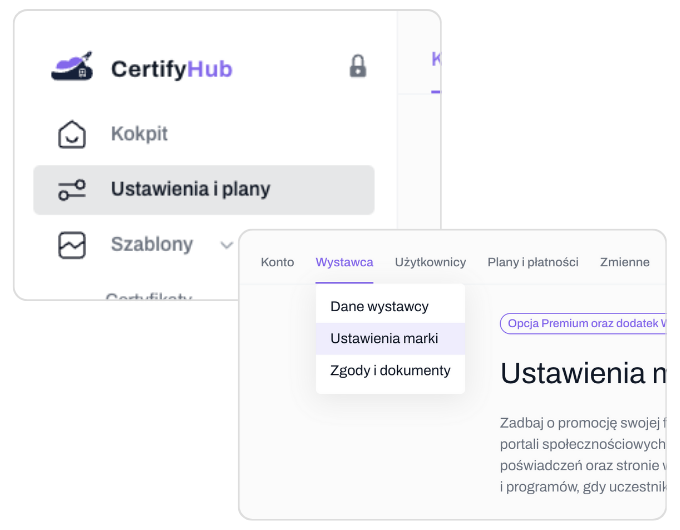
After logging into your CertifyHub account, navigate to the “Settings and Plans” tab, where you can configure all the necessary settings for creating and issuing credentials.
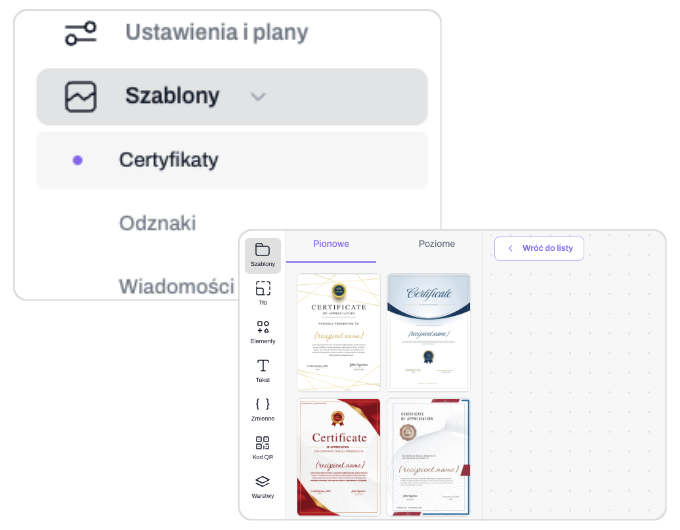
2. Creating a Certificate
Go to the certificate creation section. Click on “Templates”, then choose “Certificates” or “Badge” to open the certificate creator. You’ll find pre-designed templates and various tools to customize the certificate’s appearance according to your needs. Once finished, name your design and save the template.
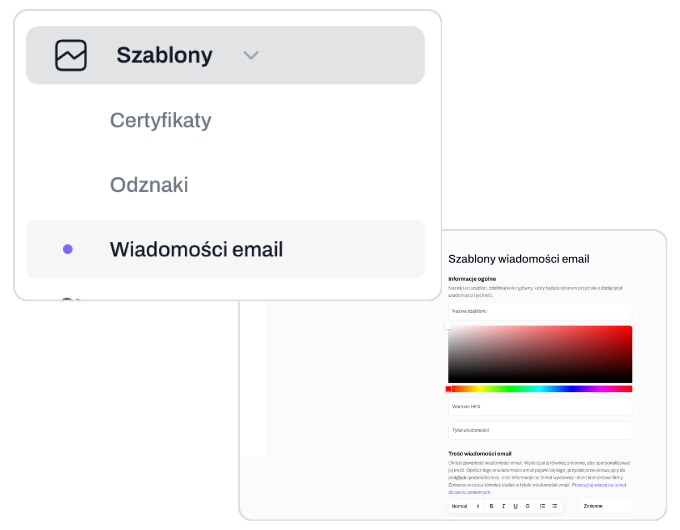
3 Message Creation
When the certificate is ready, go to the , “Email messages” tab, click , “Create new” and configure the email message with which the credential will be sent to the recipient. In the message wizard, give a name to the template, the title of the message and its content, and other optional elements.
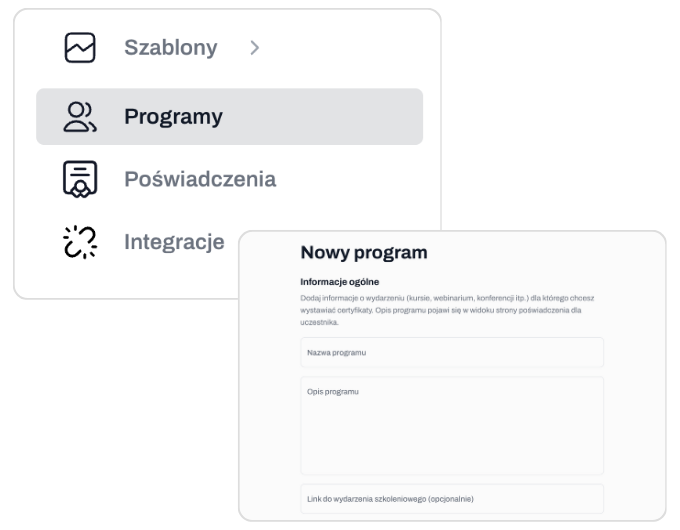
3. Creating a Program
With your certificate template ready, proceed to program creation. In the left navigation panel, locate and select the “Programs” tab. Click “Create New”, input the required program details, and save.
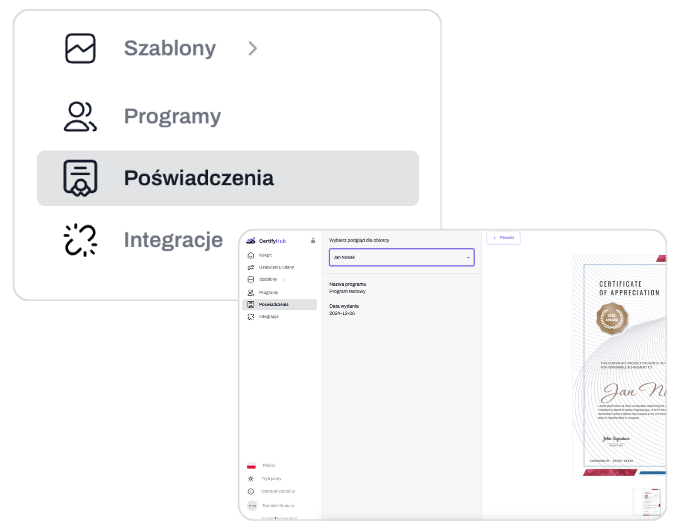
4. Issuing Certificates
Navigate to the “Credentials” tab and select the program for which you want to issue credentials. Add recipients either manually or by uploading a file in Excel or CSV format. You can preview the credentials before publishing or send them immediately. Done!