How to Set Up Your Own Branding?
To ensure full personalization and promotion of your company in the CertifyHub system, you can use the custom branding option. This way, every certificate you issue will be immediately associated with your brand. It’s an additional form of promotion that builds a professional image and effectively increases brand recognition.
Brand Settings
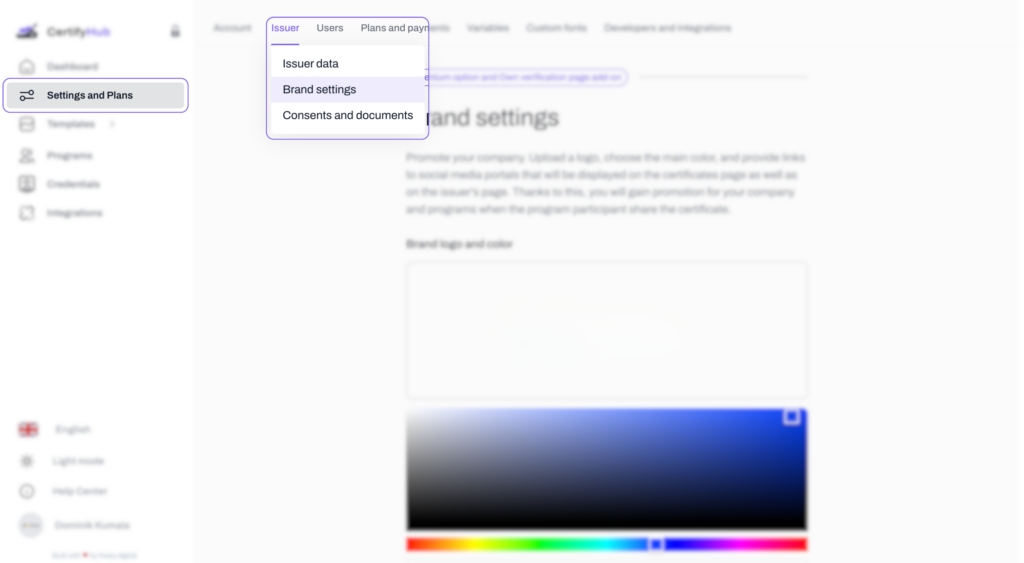
To set up your own branding, log into your CertifyHub account. Then in the navigation menu on the left side, select “Settings & Plans,” and click the “Issuer” tab. There you’ll find the “Brand Settings” option, where you can make all necessary changes regarding your brand’s appearance and presentation. All modifications you make will be displayed on the issued credentials page and issuer page.

Logo and Brand Color
One of the most important identifying elements of your brand is its logo and primary color. In the “Logo and Brand Color” section, you can upload your company logo. To do this, click the “Upload image” button and select the logo file from your computer.
After uploading the logo, you can choose the main color. You have two options:
- manually select a color from the palette
- enter the exact color code in HEX format (e.g., #ff0000 for red)
Brand Name
In the “Brand Name” section, you can enter a different name than the official company name.
Issuer Email
Certificates are sent via email, so it’s important to ensure a professional message appearance. In the “Issuer Email” section, you can set:
- Sender name – name or title that will be displayed to recipients in the “From” field
- Sender email address – provide the address from which certificate messages will be sent. Make sure it’s a valid and working email address to avoid delivery issues such as messages going to spam
- Carbon Copy (CC) – you can add additional email addresses that will receive copies of all certificate messages. If you want other team members to be informed about certificate sending, enter their email addresses separated by commas (e.g., john.doe@mail.com, barbara.smith@mail.com)
- Blind Carbon Copy (BCC) – this option allows sending message copies to recipients in hidden copy. Like with CC, enter addresses separated by commas
- Reply-to – enter the email address where responses to certificate messages should be sent
Issuer Links
To fully utilize the marketing potential of certificates, you can add links that will appear on your company’s programs page. Enter URLs to your website and social media profiles. This way, people who receive certificates can easily find your company online, increasing its recognition.
After entering all personalization settings, remember to click the “Save changes” button. This will save your modifications. From this point on, every credential you issue will not only confirm participants’ skills but also effectively promote your company.