How to Properly Configure Your Account?
To start using CertifyHub for mass credential issuance, you need to properly configure your account. Below is a step-by-step guide on how to correctly configure settings to seamlessly issue certificates in bulk.
Logging into the System
After registration and confirming your account via the link sent to your email address, log into the CertifyHub system.
Completing Issuer Details
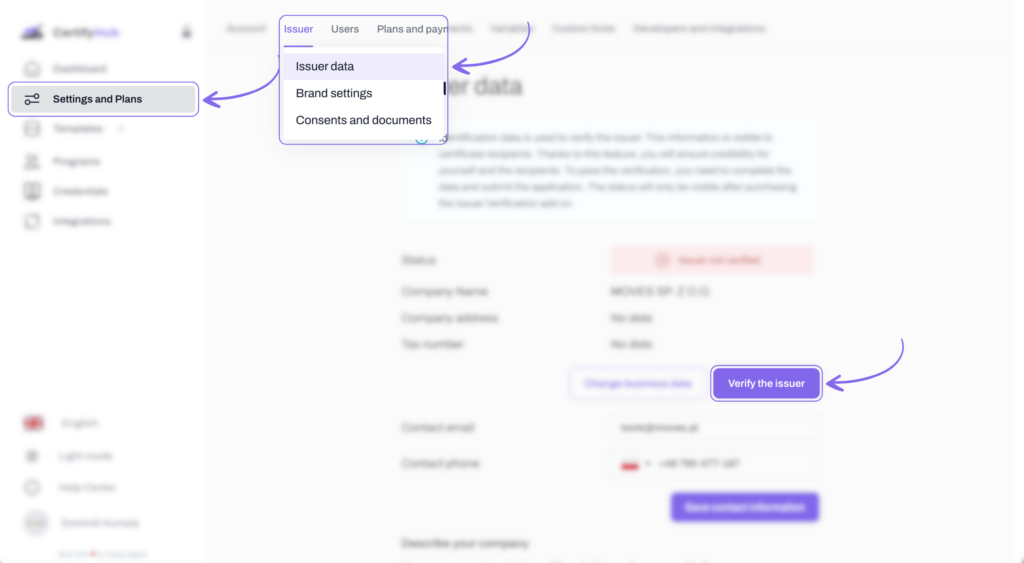
To issue certificates, you must complete the issuer information. To do this, select “Settings & Plans” in the navigation panel on the left. Then in the “Issuer” dropdown menu, select “Issuer Details.” Fill in all fields, such as company name, contact phone, and description.
Here you can also verify your company as an issuer. Click the “Verify Issuer” button to submit a data verification request. Complete the fields and click “Send.”
Brand Settings Configuration
The next step is customizing the branding that will appear on the issued credentials page and issuer page. You can find detailed instructions on how to do this here.
Managing Consents and Documents
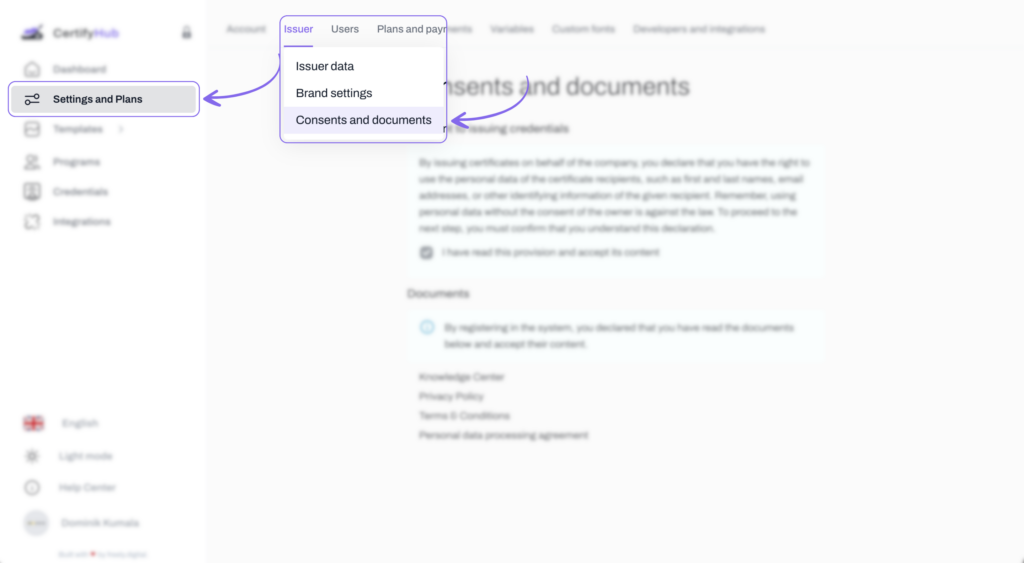
To use the platform legally, you had to accept appropriate consents and agreements when setting up your account. If you want to review them, just click “Settings & Plans,” then select “Issuer” and “Consents and Documents.”
Adding Users
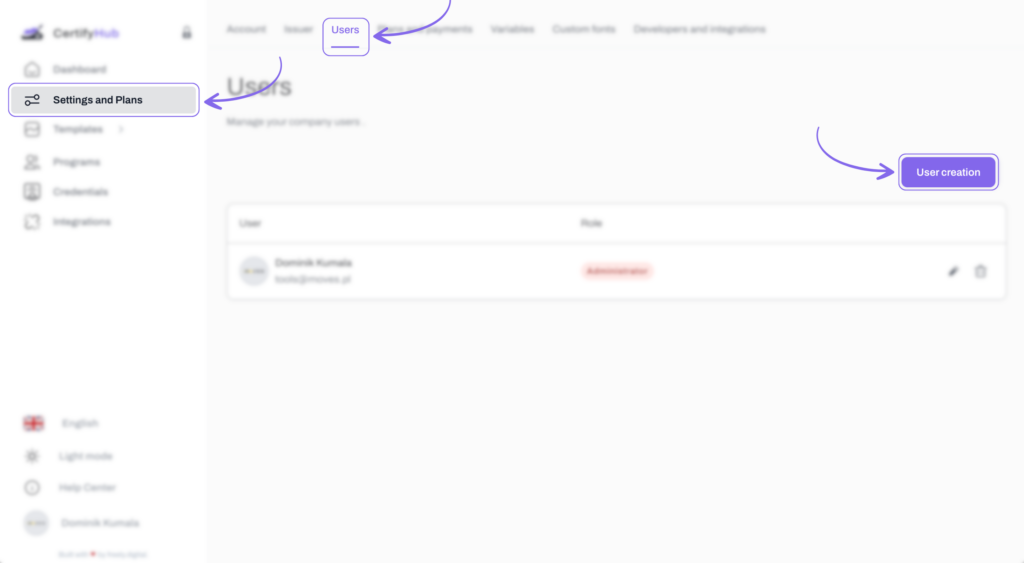
If you need other team members to have system access, you can add new users. Go to the “Users” tab, click “Add User,” then fill in required information such as email address and assign an appropriate role, e.g., Administrator. More information can be found here.
Billing Settings
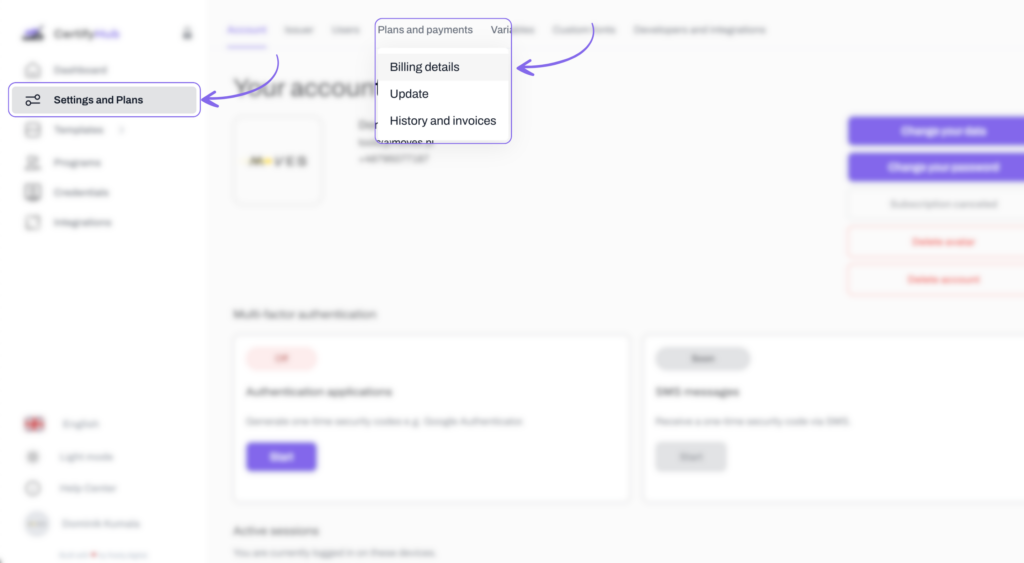
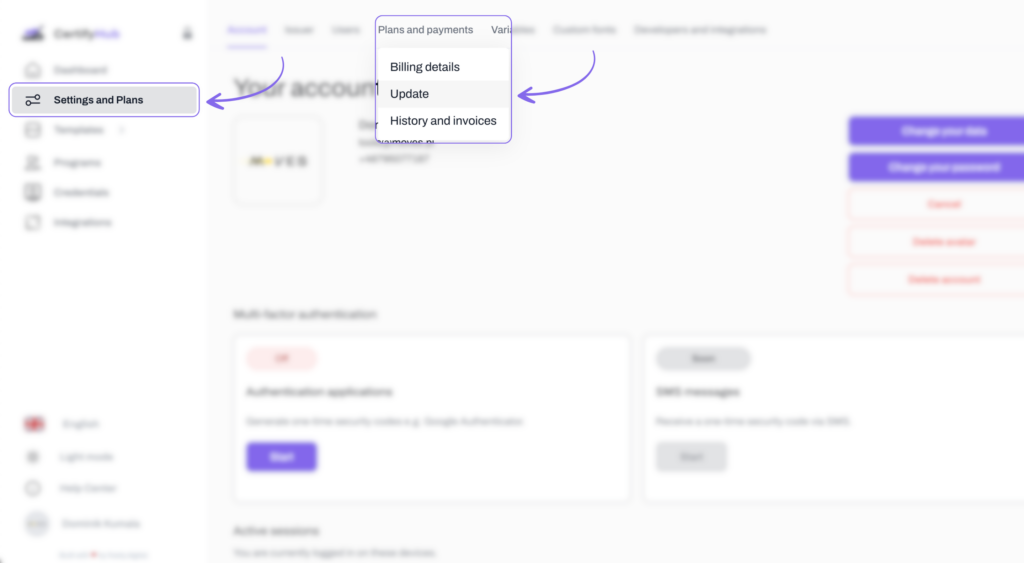
For the system to issue subscription invoices, you must complete billing information. Go to “Plans & Payments” tab. Select “Billing Details” and enter company information for invoice issuance, including country and company name. Read how to change billing details.
Plan Update
If your needs change and you want to change your subscription plan, select “Update” in the “Plans & Payments” tab. Choose the appropriate plan and make payment. More information can be found here.
History and Invoices
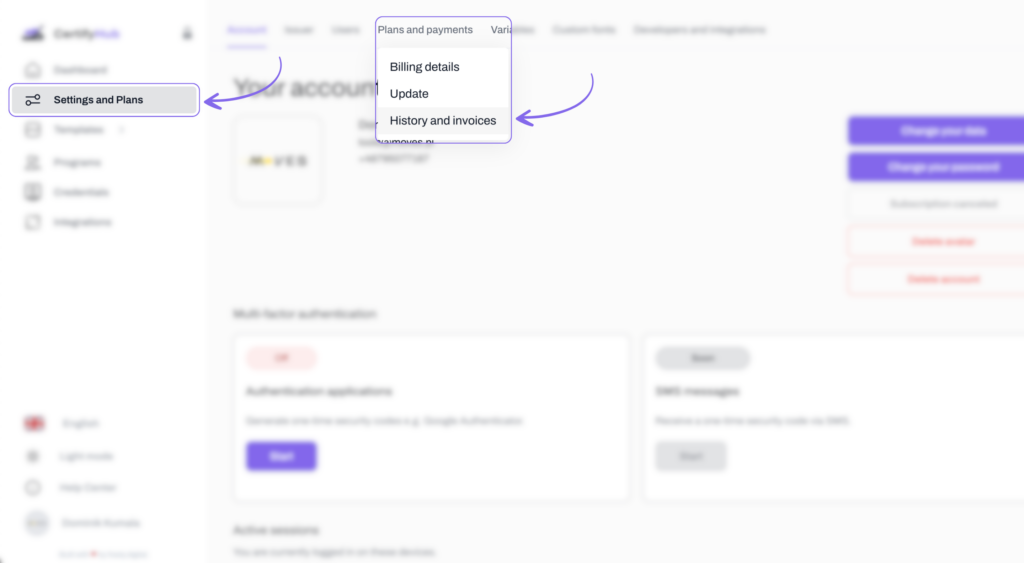
If you need access to purchase history and invoices, simply go to “Plans & Payments” tab and select “History and Invoices.” Here you’ll find all previously issued invoices.
Variables
Variables allow for instant certificate personalization and process automation.
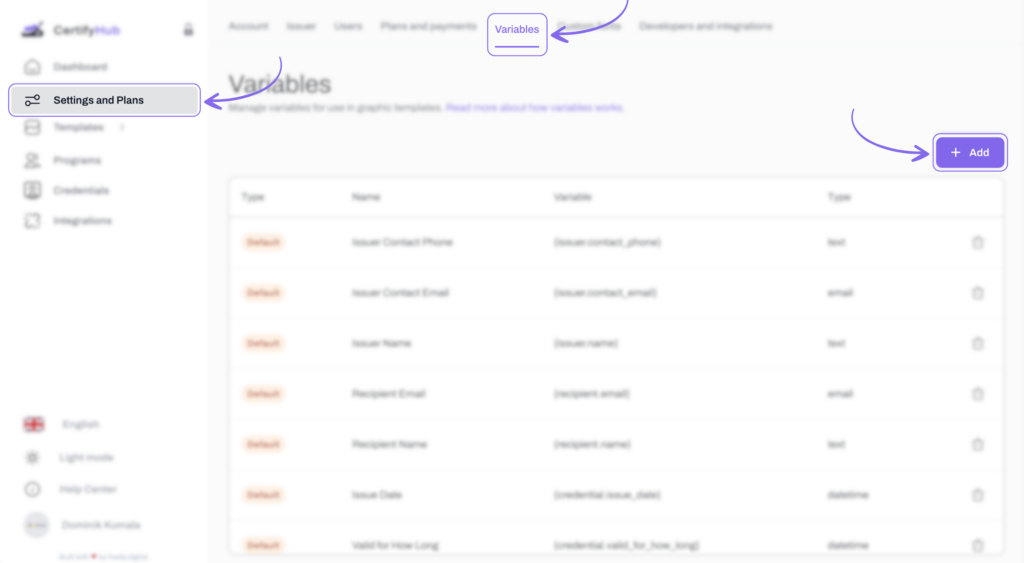
To configure variables, go to the “Variables” tab. In this section, you can manage default variables that the system uses in certificate templates, e.g., {issuer.contact_phone} (issuer phone) or {recipient.name} (recipient name). To add a new variable, click “Add” and enter appropriate data.
Developers and Integrations
CertifyHub enables integration with external applications, e.g., Zapier, which support certification process automation.
Simply go to the “Developers and Integrations” tab. Then select “API Access Keys” to generate a new key. Click “Add,” name your key, and the system will generate it automatically. This key will be used to authorize API connections with other platforms. You can read more about integration here.
After properly configuring all the above settings, you can freely use CertifyHub.