How to Create a Certificate Using CertifyHub Templates?
The user-friendly and easy-to-use certificate creator lets you quickly and conveniently create professional-looking documents. You can use a rich library of ready-made templates that you can customize to your preferences.
Instructions for Creating a Certificate Using a Ready Template
Access the Certificate Creator
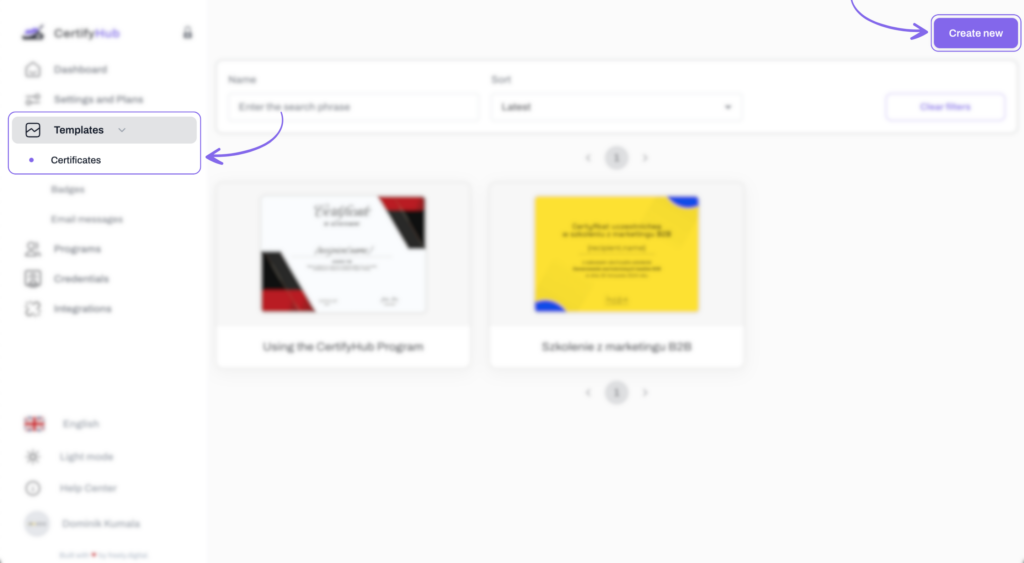
To create a certificate using ready, editable templates, simply log into your account, go to the “Templates” tab (in the navigation panel on the left) and click “Certificates.” Then click the purple button on the right side at the top of the screen to create a new certificate.

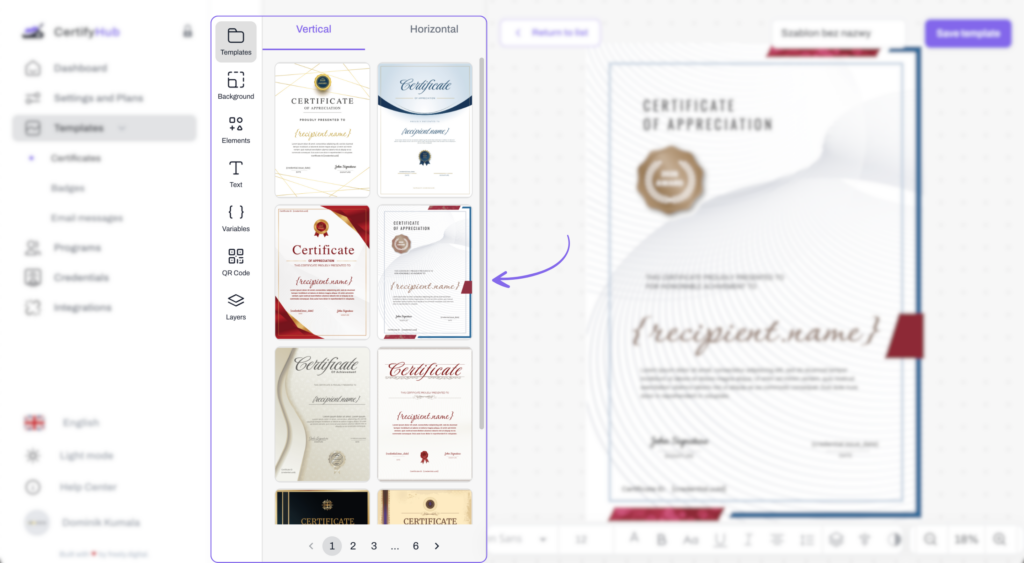
You’ll be taken to the certificate creator, where you can immediately choose a template from the rich template library — you have both portrait and landscape orientations to choose from.
Customizing the Certificate Template
Choose a template from the library by clicking its thumbnail. It will automatically load into the workspace. If needed, you can change to a different template – just click on a new design to replace the current project.

After loading the template, you can customize every element, for example:
- Text — click text fields to change their content. You can edit font, size, color, and style.
- Variables — use dynamic variables like {recipient.name}, {credential.issue_date}, or {credential.id} to automatically generate personalized certificates.
- Background — change the background by selecting a different pattern or uploading your own graphics (JPG, PNG, SVG formats).
- Decorative elements — add or remove lines, shapes, and other decorations. You have full control over the layout of elements. Settings customization — in the left panel, you can set:
- Certificate format (A4 or US Letter)
- Orientation (portrait or landscape)
- QR code — you can add a QR code to the certificate that, when scanned, redirects to the credential verification page.
- Layers — use the layers tool to easily move elements to the front or back of the design.
Saving the Template
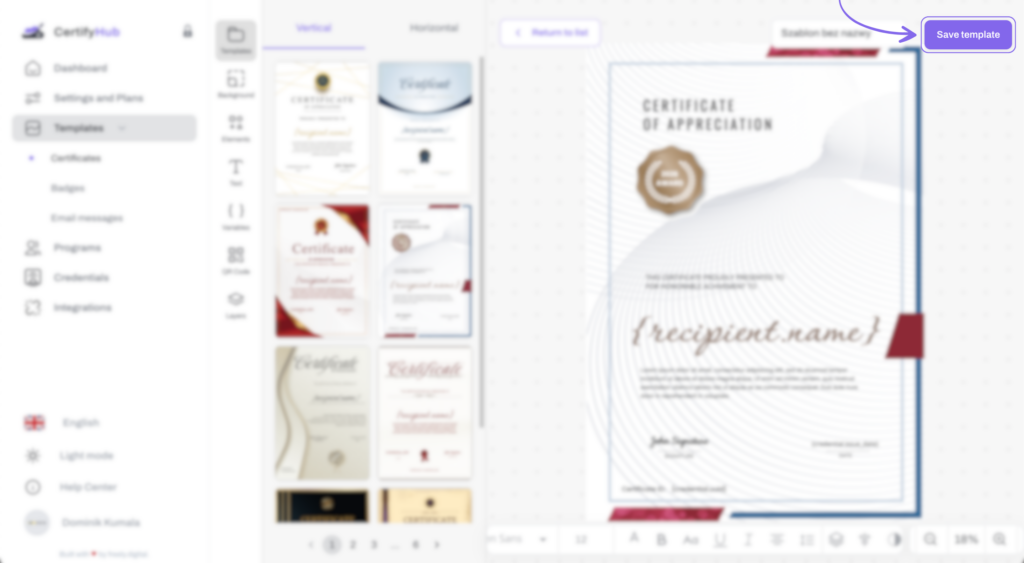
After making changes, name your project and click “Save template” to store your design in the system. This will allow you to assign it to a specific program and mass issue credentials.

And you’re done!